Showing posts with label Curls. Show all posts

Saturday, February 18, 2012

Fan Feature: Miss Ava!


Tell us a little about yourself and your daughter: 
My name is Tanya, I’m 27 years old and have a wonderful little girl named Ava, who is almost 4 years old. I served in the Army for 4 years, and Ava currently goes to Pre-School. I am married to my husband Tavares and we live in the Bahamas, Ava has a little brother named Carson! 

What is your daughters current hair routine like? 
Wash and Condition, and let air dry. 

What are your favorite products to use? 
Leave in conditioner/ detangler. 

Have you ever used chemicals or heat in your daughters hair? 
I’ve Tried blow drying it, but it makes it really dry and frizzy. 

How did you learn to care for your daughters hair? 
Watching A LOT of YouTube. 

Was there anything you really struggled with learning about caring  for or styling your daughters hair? Anything you’re looking forward to mastering? 
I still can’t figure out how to do the 4 strand braid… but I know someday I will get it!

Any tips for our readers? 
Just listen to your baby, if she says she’s tired of sitting then let her rest for a while and finish up later that day.

Show us some pics!

 Peep the image on the laptop ;)
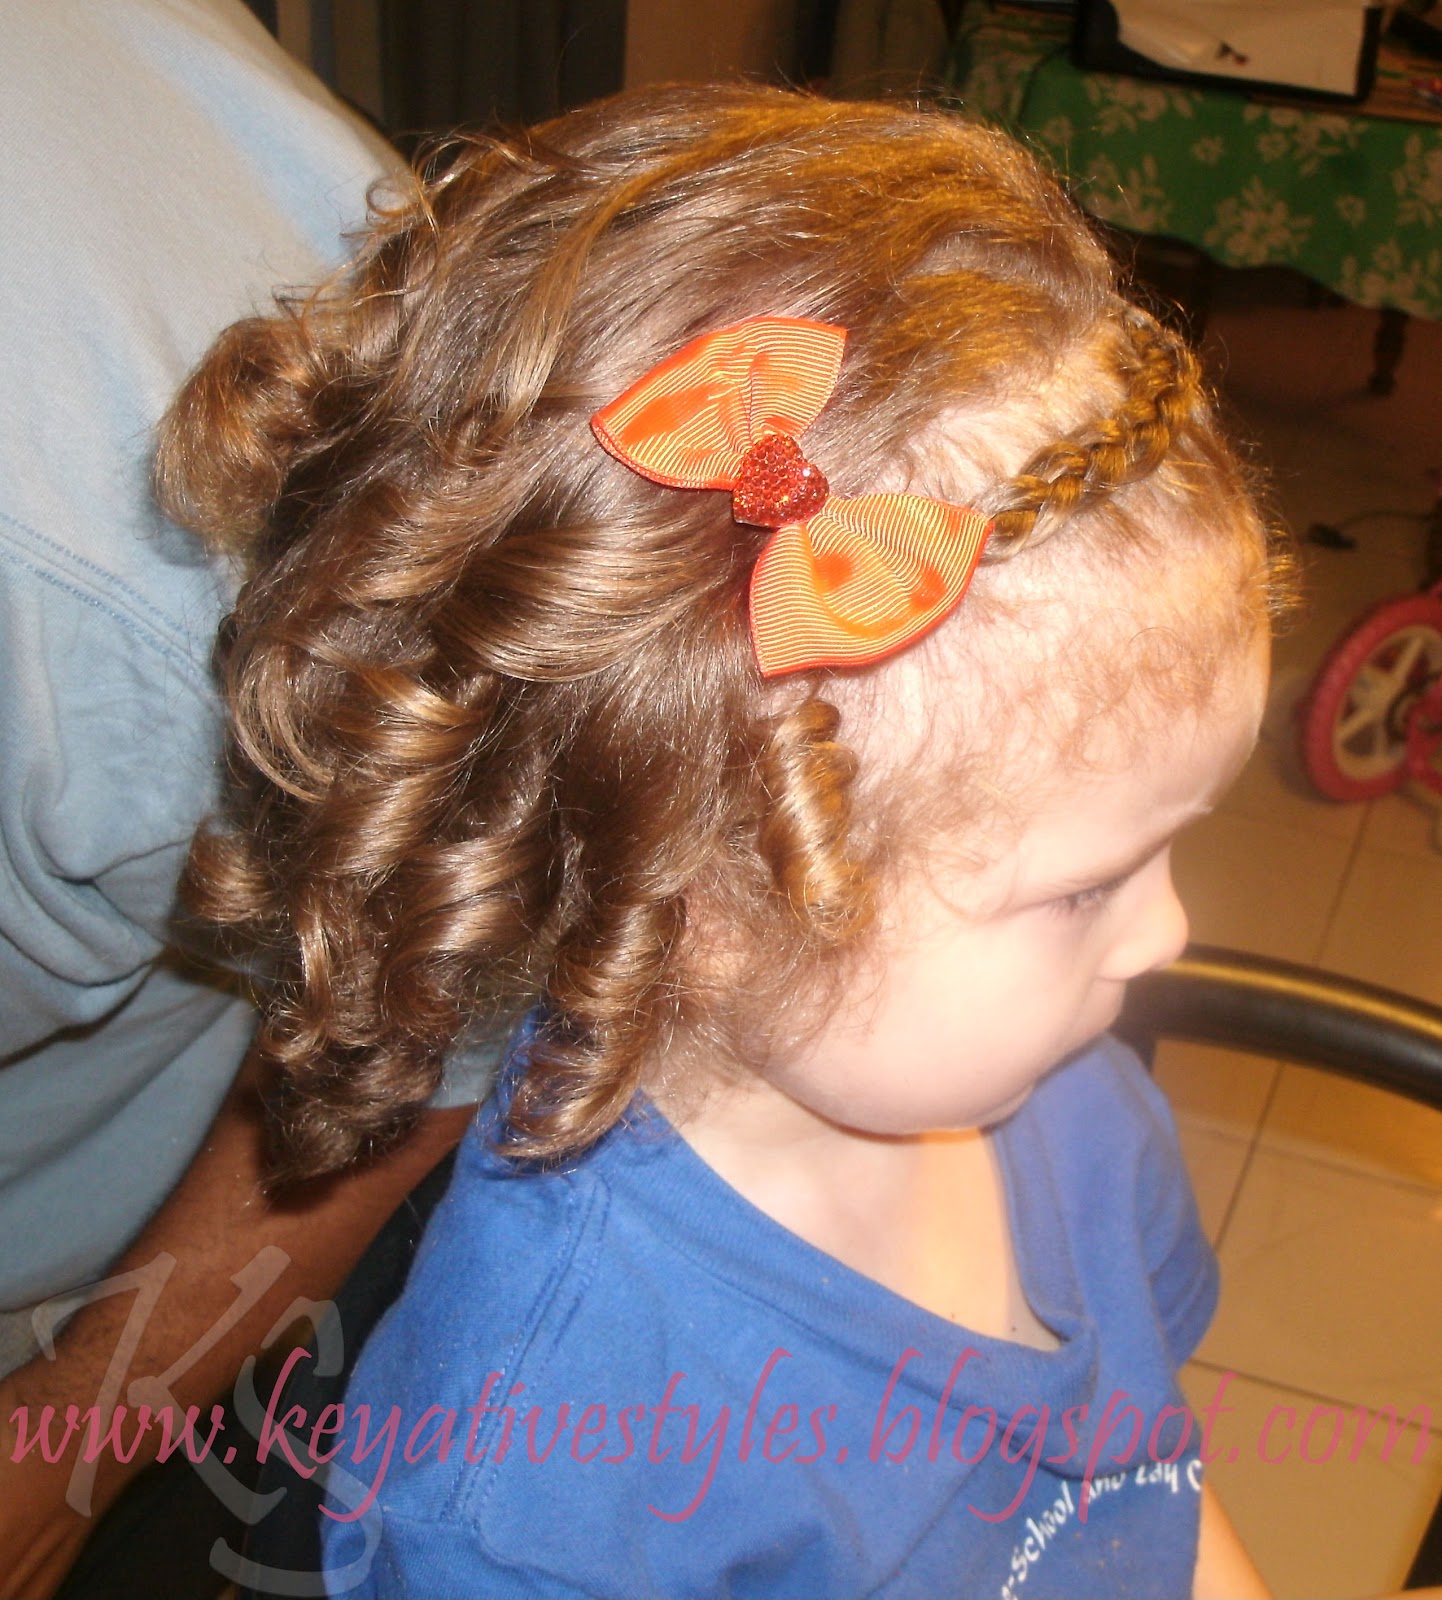


Tanya has been a friend of ours on Facebook for a while now and I always enjoy seeing the cute new styles she comes up with for Ava. Thanks so much for sharing!

Sunday, February 12, 2012

My Valentine

Just wanted to share a few of Keyanna's Valentines Day portraits we had done this weekend. I kept her hair simple and just did pigtails with a couple of cute bows. I curled her hair using our long and wide Curlformers.


Wednesday, January 11, 2012

Pull Through Ponytail Headband


I did this style on Keyanna a few weeks ago after she had been wearing her hair down for a while and she was fed up and annoyed with it always being in her face. I started by parting her hair ear to ear and tying off the back section. Then I began parting her hair in small straight sections and tying them off into little ponytails. After I had done that to the whole front section of hair I started with the first section and took our beader and pushed it under the the rubber band towards her forehead, I took the hair from that same small pony and slipped it into the opening of the beader. I then pulled that hair back under the rubber band through the hole created by the beader and viola! A pull through pony! I continued doing this to every small pony and it created a headband effect that kept her hair out of her face all day.


I probably should have taken step by step pictures as I did this style and it would be a whole lot easier to explain but I didn’t think of it at the time so hopefully you get the jist of it.

Tuesday, January 10, 2012

Style Remix: Half Back Cornrows With Curls (Half Up/Half Down)


After wearing our previous style for a few days we decided to switch it up a little bit. I took down the ponytail and wet all of her loose hair. After adding a little moisturizer and combing out any knots I took the ends of the cornrows and tied them into a pony on the right side of her head. The rest of her hair I left down. I then added our long and extra wide Curlformers to all of her hair and left them overnight to dry. 


Love it :)


Monday, January 9, 2012

Half Back Cornrows Into A Side Pony


I did this style on Keyanna for a birthday party we were going to for her little cousin, and since the party was on the 31st it also doubled as her New Years Eve style.  

I started this style by parting her hair ear to ear and tying off the back section. I then did a slight S shape cornrow, and did the 2 small cornrows for the :bangs”. I continued adding cornrows down the side of her head towards her ear. For the other half I added a few more S cornrows and then did the same thing adding cornrows all the way dawn until I reached her ear. 

I didn’t want to use rubber bands for this style, instead I continued braiding the hair a few more inches off of the scalp so it wouldn’t unravel. 

After I finished braiding I brushed all of her hair up into a high side pony and added our long and wide curl formers to curl it. She slept with them in overnight and here are the results we got the next morning… 


I added a cute bow (from SassyRoche Bowtique, Check them out!) and she was ready  to go! 


Friday, October 21, 2011

Throwback: Messy Piggies

These pics are from before our hair styling days.. when i really had no clue what i was doing when it came to her hair. Honestly, I could hardly get a brush through it. Her hair is thin which I think makes it tangle so easily. She was rockin’ messy pigtails daily and I was cutting knots out of her hair nightly.  


Tuesday, September 6, 2011

1ST DAY OF 1ST GRADE

Babygirl started first grade today! Just wanted to share a few pics with you all :) We didn't do anything really special with her hair, just a cute down and out curly style with 2 small ponytails to keep her hair out of her face. 


Friday, June 13, 2008

So cute it will make your hair CURL!

Or corkscrew curls.


First, I need to apologize for my lack of posting. There is a reason they call them the dog days of summer. In my house we lie around lazy like dogs...which results in simple and basic hair styles which I am compiling...but it will take all of one post. Today I was feeling much more ambitious however and did something that has become a favorite in our home.


This post is for those of us who have daughters with straight hair or even wavy hair. I covet curly hair. COVET IT! However, the genetic make-up of my daughters fell short in the hair department when it came to curls. I have accepted this...but only because God made curling irons. Today we curl.


See this stuff? My favorite. I LOVE this stuff. When I curl my daughters hair, it makes the curls so soft, but they hold their shape. LOVE IT!


Start out with dry hair. Her hair was in French braids yesterday, and since I only wash their hair every other day, it has some funky waves going on.


Add your curl sculpting gel.


Then I take and curl the ends with my flat-iron or curling iron. Today it was a flat iron because the curling iron wasn't hot yet and my flat iron is hot in 30 seconds. Dumb curling iron.


I took a section of her hair and pulled it straight up. Then I put the curling iron right at the base of her hair. I apologize for this picture. Amelia was holding the curling iron as I was taking pictures. This is why I don't believe in full-blown evolution folks. Moms would have eight arms. And my curling iron is totally dirty. I have better things to do than to clean my curling irons. I'm keeping it real girls.


I digress. With the curling iron at the base of the hair, wrap the hair around the curling iron. My curling iron is 1/2 inch.


Like so. I don't worry about it wrapping around smooth or twisting as you wrap it. In fact, it makes the curls more twisty. The heat is what you want here. Hold it on the end. Note that the longer you hold the hair on the curling iron, the bouncier (is that a word?) the curl will be. I held these each for about 25 seconds.


Then I let go. Now the reason that I curled the ends prior to these is because I am not adding these curls to the entire head of hair. I don't have that kind of time.


But I do add some more...


...and a few more.


Then I let them cool. In this case I came downstairs and ate a Hershey's Kiss, then I went upstairs and finger combed her hair from underneath to separate the curls.


Then I scrunched them and sprayed them. You don't have to separate them. I will show you a picture of them not separated. It is cute either way.


Then I finished the front.


HA!!! Gotcha. Do you really think I would let her out of the house like that? Not that we are going anywhere.


So we added a clip.
Oh, and as a side note. Notice those baby bangs? A couple of weeks ago, she asked me if we could cut them off. I told her no. Her dad and I both had them until we hit puberty. If we cut them, the ones underneath would look silly. A couple of days later, I was pulling her hair into a ponytail, and I had these little pokey up hairs everywhere. She WHACKED THEM OFF! Here is a lesson to me. Don't discount that because she is almost 8 that you made it through her entire childhood without cutting her hair. It doesn't work that way.


This is what it looks like not separated.

The End.

Thursday, May 8, 2008

Piggies and Curls

Miss Monkeypants came to play yesterday. It was early enough that her mommy hadn't done her hair yet. So of course I took it upon myself to do her hair (like you couldn't have guessed that).

I wet her hair down and parted it on the side where her normal part is.

Then I sectioned off part of each side and made four little ponytails on top.

On each ponytail I tied a ribbon.

And then I played with those curls.

I separated each one and pulled them apart because I wanted to see how curly I could make her hair.

It was so much fun!


Tuesday, May 6, 2008

Three Water Spouts

I have a new favorite product. Garnier Bold It Power Putty! It makes pulling my Spunky's wisps away from her face SO much easier.

I should buy stock.


I sprayed the front of her hair lightly and pulled some of this stuff through. A little goes a LONG way...so don't use too much.

Then I parted her hair and pulled it into three ponytails...that I affectionately call "Water Spouts" on curly haired children.

Then I made my Spunky's hair curly by slowly pulling the flat iron through. It took all of three minutes.

I put pre-made bows on each ponytail. Voila!


Yes, that is a temporary tatto on her face...courtsey of Grandma.