Showing posts with label cornrows. Show all posts

Tuesday, January 10, 2012

Style Remix: Half Back Cornrows With Curls (Half Up/Half Down)


After wearing our previous style for a few days we decided to switch it up a little bit. I took down the ponytail and wet all of her loose hair. After adding a little moisturizer and combing out any knots I took the ends of the cornrows and tied them into a pony on the right side of her head. The rest of her hair I left down. I then added our long and extra wide Curlformers to all of her hair and left them overnight to dry. 


Love it :)


Monday, January 9, 2012

Half Back Cornrows Into A Side Pony


I did this style on Keyanna for a birthday party we were going to for her little cousin, and since the party was on the 31st it also doubled as her New Years Eve style.  

I started this style by parting her hair ear to ear and tying off the back section. I then did a slight S shape cornrow, and did the 2 small cornrows for the :bangs”. I continued adding cornrows down the side of her head towards her ear. For the other half I added a few more S cornrows and then did the same thing adding cornrows all the way dawn until I reached her ear. 

I didn’t want to use rubber bands for this style, instead I continued braiding the hair a few more inches off of the scalp so it wouldn’t unravel. 

After I finished braiding I brushed all of her hair up into a high side pony and added our long and wide curl formers to curl it. She slept with them in overnight and here are the results we got the next morning… 


I added a cute bow (from SassyRoche Bowtique, Check them out!) and she was ready  to go! 


Friday, November 18, 2011

New Cornrow Design

So I have really been slackin’ on the new styles lately, but I finally got myself motivated enough to pull this one off last night. It’s actually not finished yet, we had homework to do so I just finished up by braiding all of the hair into a low side pony. I plan on taking those out in the next day or 2 and doing the original style I had planned. I’ll post update pics when I do. 

Anyways, I loved how it came out. And it was actually a lot easier to do than I had anticipated. I just cant think of a name for this style. Lol. Any suggestions??

We used our new Blended Beauty products for this style and are loving them so far! Review coming soon. 


Monday, October 17, 2011

Halloween Style: Cornrowed Spider/Web Design

So a lot of you have probably seen these pics on Beads Braids & Beyond  already, I was so honored when she asked to share our style as photo of the day! 

I did this style on Keyanna at the beginning of October, I though it was fitting since it had a Halloween feel to it, This was my first time doing spider/web braids and I think it was the most intricate style I have ever done. We got tons of compliments and Keyanna insists it’s her new favorite style. 

I’m hoping anyone who plans on trying to copy this style can do it by just looking at our pics and kind of following what we did through them because honestly this style is just too complicated for me to explain and I would probably just confuse you all more if I tried lol. I wil say that I started the style by parting her hair down the middle (from her forehead to the nape of her neck) and braided the left side first, and then did the right side making it as symmetrical as I could.. It is a little off though. I started with the top legs and did the rest of the spider, and then went on to do the web.  For the spiders bodyI actually tied her hair in a knot. I wanted to give it a 3D effect. 

In the first pics I just put the loose hair in 2 side braid pigtails and threw in some ballies, We switched it up a few days later and added some beads. 


Chocolate Hair/Vanilla Care also did a take on our style doing flat rope twists instead of cornrows and it came out gorgeous. She goes into a little more detail on how she did the style so definitely check that out if your having difficulty recreating our style or if you prefer flat rope twists over cornrows.

A few days later we took out the 2 large braids and did some singles with beads instead. She wore her hair this way until we were ready to take it down.


I know a lot of you are probably wondering what that blue and black thing is in her hair so let me just tell you it's a hair wrap. We had put it in a week or so before doing this style so I just worked around it. Anyways, that's a post for another time.

Saturday, September 17, 2011

HEART SHAPED CORNROWS

This was a style I did on Keyanna last valentines day, but I love it for anytime.. What little girl doesn’t love hearts? You may have seen this style already if you are on our facebook page, but i thought i would do an official post with instructions on how i did it.


INSTRUCTIONS: 

  1. I started by parting her hair right down the center (front to back)
  2. I then began parting a heart on the right side, after the heart was as close to perfect as I could make it I tied it off with I rubber band and did about 3-4 braids with the loose hair. (you may or may not have to do more depending on the thickness of your daughters hair).
  3. Now that the shape of the heart was established I started parting around the heart  (sort or creating an outline) with this hair I started the cornrow at the top of the heart and came around to the bottom, I repeated for the other half of the heart. 
  4. With the remaining hair at the top of her head I created bangs by doing 2 cornrows going towards her forehead.
  5. With the remaining hair under the heart I did 1 cornrow going back towards her ear.
  6. Repeat steps 3-6 for the left section.
  7. After finishing the front I gathered the remaining loose hair in the back into a pony and did 8-10 hanging braids.
  8. I then added beads to the ends of all her braids. 


Friday, September 16, 2011

STYLE SPOTLIGHT

Here's a style Jamie did on her 3 year old daughter Caliyah.

I'm loving the creativity <3 Thanks for sharing Jamie!

Have a style you would like to share? Send it HERE 

OR 

If you would like to participate in our Fan Feature Section of the blog, you can do that HERE

Wednesday, August 24, 2011

CORNROWED MINI BRAIDS INTO CURLY SIDE PONY

We have been switching up keys mini braid styles like crazy this past week, there is just so much you can do with them! This style was actually inspired by a style one of our friends on our Facebook page had done on her little girl. (Thanks Taylor!)  


This style is pretty basic, using the first few rows of her mini braids I made 1 small cornrow going across her head (from the left side to the right) and ended it just above her right ear. I started back on the left side of her head making a larger cornrow using all of her remaining braids. When i got to where i had ended the first corn row I banded them off into a ponytail. 


For this style I went with using the long and wide curlformers to give it a little tighter curl, I also applied Kinky-Curly Curling Custard before putting the curlformers in and it definitely gave the curls a better hold.


Monday, August 22, 2011

HALF BACK CORNROWS INTO BRAIDED PIGTAILS

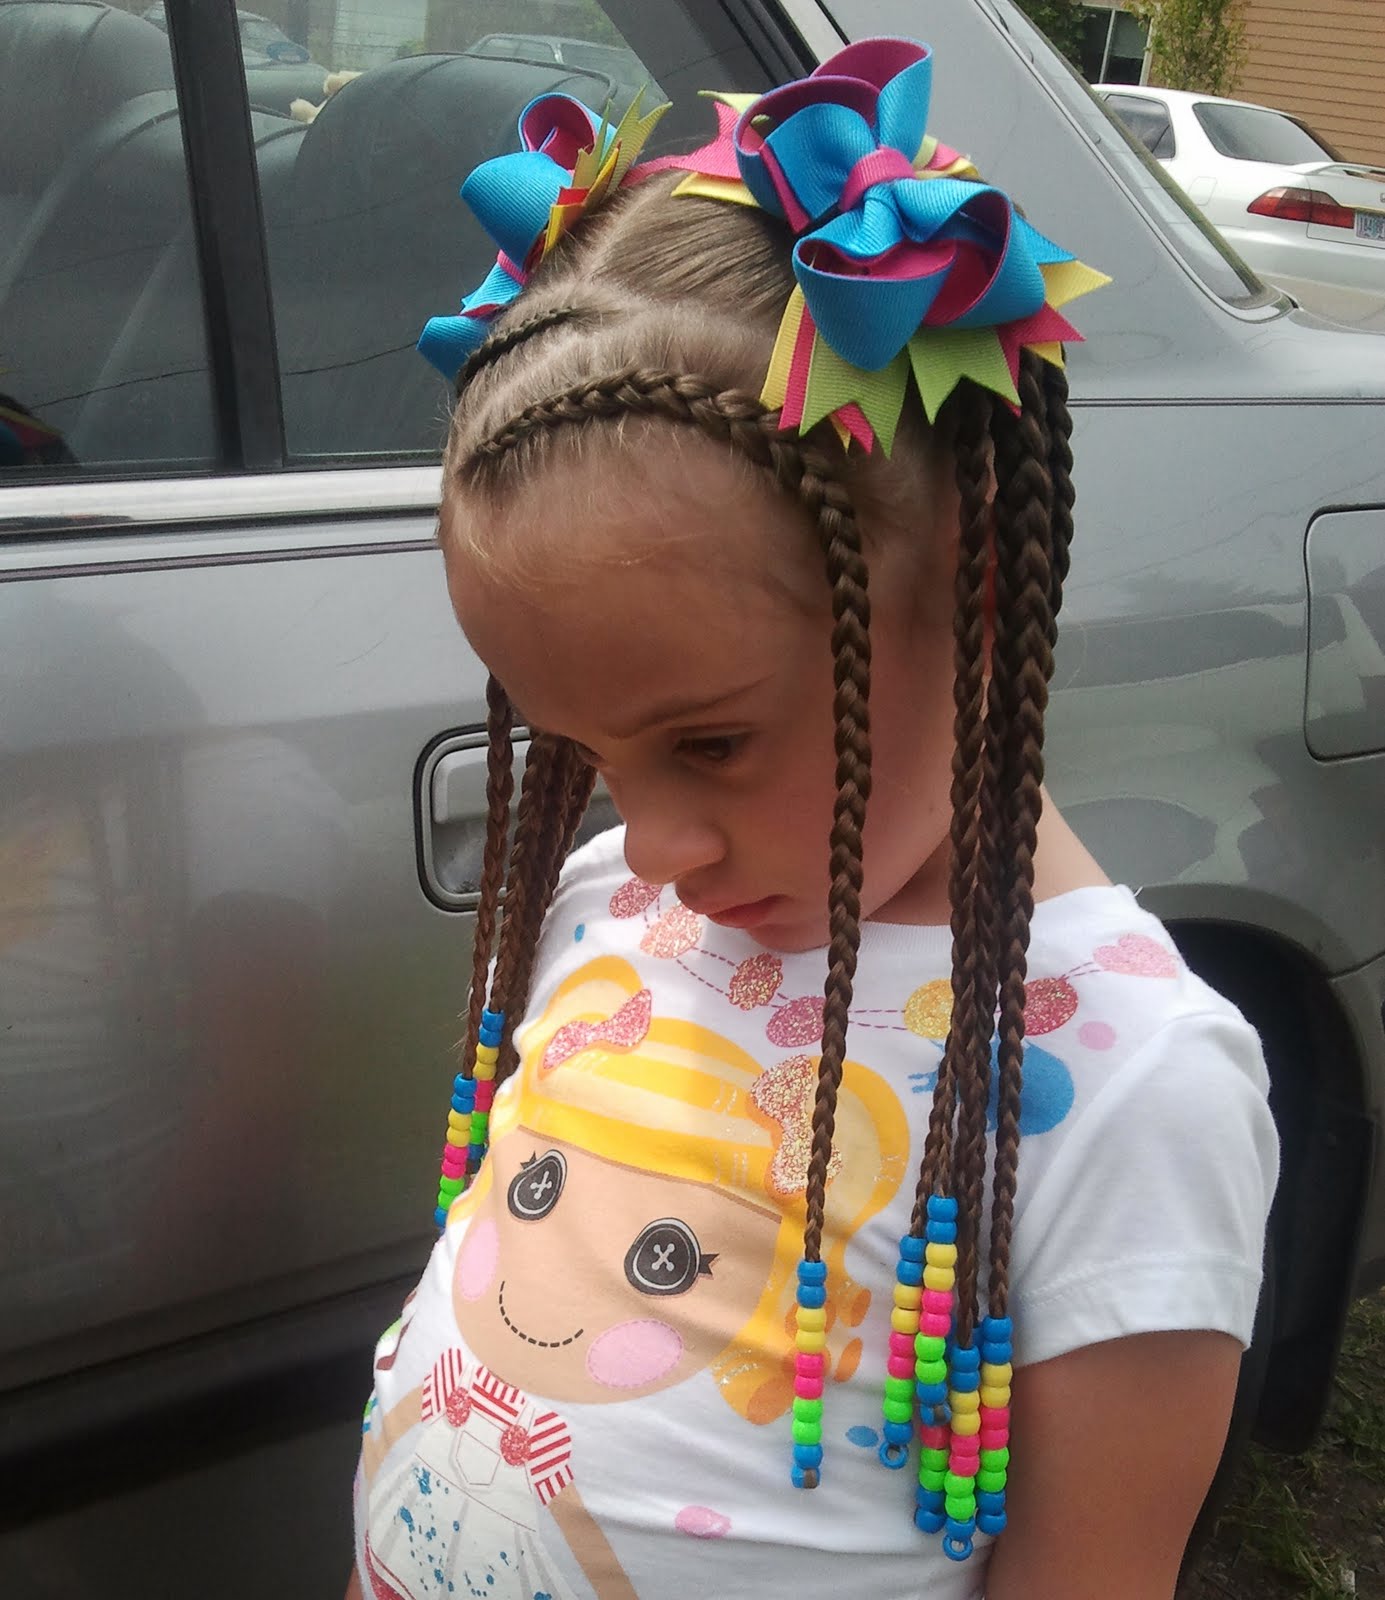
A few weeks ago we took a trip to the zoo, it was especially hot that day so I wanted her hair up off of her neck and back to help keep her cool. I decided to use the style she already had in (Alicia Keys Inspired) add a few more cornrows, attempt to do a spiral cornrow, and finish it off with some braided pigtails. 


INSTRUCTIONS: 
Time: 1 hr. 
Products used: BeeMine Luscious Moisturizer, BeeMine Bee Hold Curly Butter 

  1. I started by parting her hair ear to ear, then making a diagonal part to do the first cornrow. 

  2. I rotated doing a straight back cornrow and a crisscross cornrow. Using the leftover hair at the top of her head, I did a triangle shaped spiral cornrow. 

  3. I then parted her loose hair in the back straight down the middle and gathered it into 2 pigtails, I did about 15-20 hanging braids on each pigtail, added beads and barrettes, and I was done!


ALICIA KEYS INSPIRED

I came across a picture of Alicia Keys a while back and really wanted to try her braided style on Keyanna, I thought it was gorgeous! (Her hairstyles always are). I tried to do everything as close to the original as I could from looking at the picture, but I did end up reversing 1 of the crisscross cornrows to give her some “bangs”. 


Not perfect, but Keyanna and I both liked how it came out.

Monday, August 15, 2011

MOHAWK WEEK!! Zig-Zag Mohawk

IT'S MOHAWK WEEK HERE AT KEYATIVE STYLES!

For those of you who didn't know.. Keyanna is a ROCKSTAR! (or at least she thinks she is) and mohawks are her all time favorite style. Since summer is the perfect time for a hawk, I thought it would be fun to share some of the styles we've done. So lets kick off the week with.... 

Zig-Zag Mohawk 


This is our most recent mohawk, Key and I loved how it came out and it definately fit her personality. I was partially inspired by a style I saw on a friends page, she is an amazing braider so if you get a chance check her out here. 

INSTRUCTIONS:
  • Time: 25 Min
  • Products used: Coconut Oil, SheaMoisture Curl and Hold Smoothie

  1. I started by parting her hair straight back into 3 sections
  2. I then began working on the right section making a zig-zag part front to back (the right section should now be 2 sections with a zig-zag part separating them)
  3. Cornrow each of those sections 
  4. Repeat steps 2 and 3 for the left section.
  5. For the top I did 1 large cornrow and let her go to sleep, in the morning I took the top cornrow out and she had a gorgeous braid out, I just added a rubber band to create a “pouf” in the front and she was ready to go!


Saturday, July 30, 2011

Side Cornrows Into Box Braids

This is a style I did on Keyanna in summer 2010, I didn't have a style in mind when I started but this is what we ended up with. I loved it, she loved it, and we got tons of compliments. We got about 2 and a half weeks out of it before I took it down.

INSTRUCTIONS:

-I began by parting her hair down the middle and tying off the left side.
-Then I started braiding the cornrows diagonally, going towards the top of her head. I did about 7-8 braids, and ended right below her ear.
-After finishing the cornrows I untied the loose hair and began parting and doing box braids. And finally, ended the style by adding beads to the ends of all the braids.
-This style took about 1.5 hrs.


Friday, July 29, 2011

Kai-Lan Inspired Style

So, I was thinking.. What better way to kick off our FIRST blog post than  with one of the FIRST styles I ever did on Keyanna!
So here you have it.. Our Kai-Lan inspired style.
When Keyanna was younger she was obsessed with the show, so I thought I would try a style to resemble Kai-Lans hair in the show. It came out great and is my daughters all time favorite style! I love it too beacuse its something quick and simple that I can do if we are pressed for time. 


And heres a variation we did.. Hanging braids with beads in the back instead of the buns.