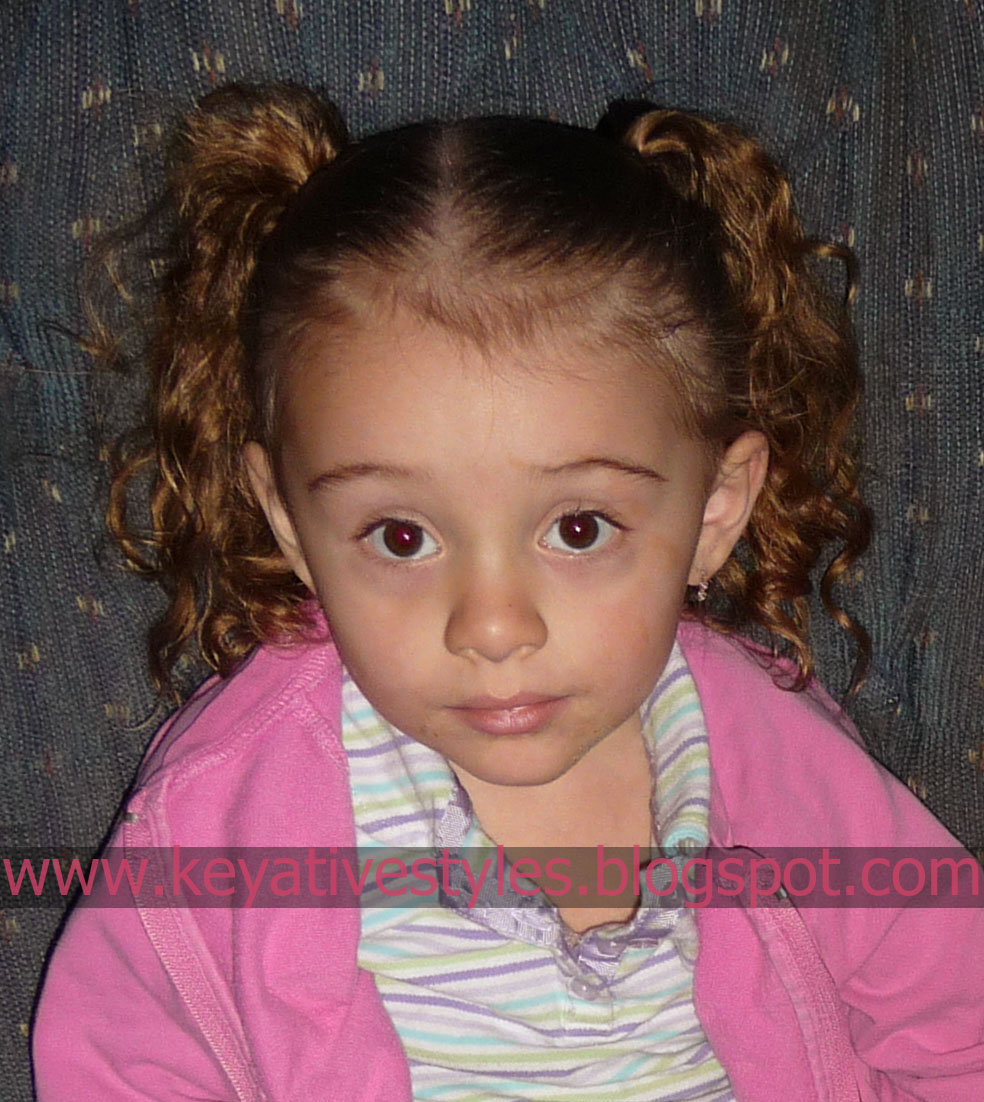
This is a cute summer time style I did on Keyanna last June for her aunts graduation. For me flat twists are a lot quicker and easier to do than cornrows, and this style only took about 25 minutes. I did about 14 or 15 twists and tied them off with some colorful bands, then parted the rest of her loose hair into 2 sections and did 2 slide braids. If your not familiar with how to do those you can watch a video tutorial here.
Showing posts with label pigtails. Show all posts
Friday, November 18, 2011
Friday, October 21, 2011
Throwback: Messy Piggies
These pics are from before our hair styling days.. when i really had no clue what i was doing when it came to her hair. Honestly, I could hardly get a brush through it. Her hair is thin which I think makes it tangle so easily. She was rockin’ messy pigtails daily and I was cutting knots out of her hair nightly.
Tuesday, August 23, 2011
CURLED MINI BRAIDS INTO PIGTAILS
We won the Curlformers giveaway a few weeks ago over at Mainly Braids! We chose the extra long and wide styling kit so when they arrived in the mail I decided to try them out on Keys mini braids. I loved the result!
I took the first few rows of the mini braids and cornrowed them back into the pigtails.
Monday, August 22, 2011
HALF BACK CORNROWS INTO BRAIDED PIGTAILS
A few weeks ago we took a trip to the zoo, it was especially hot that day so I wanted her hair up off of her neck and back to help keep her cool. I decided to use the style she already had in (Alicia Keys Inspired) add a few more cornrows, attempt to do a spiral cornrow, and finish it off with some braided pigtails.
INSTRUCTIONS:
Time: 1 hr.
Products used: BeeMine Luscious Moisturizer, BeeMine Bee Hold Curly Butter
- I started by parting her hair ear to ear, then making a diagonal part to do the first cornrow.
- I rotated doing a straight back cornrow and a crisscross cornrow. Using the leftover hair at the top of her head, I did a triangle shaped spiral cornrow.
- I then parted her loose hair in the back straight down the middle and gathered it into 2 pigtails, I did about 15-20 hanging braids on each pigtail, added beads and barrettes, and I was done!
Wednesday, June 22, 2011
1 Pigtail 1 Braid
To give a little history of this hair style you must understand that I would have never created a style that is one braid one pigtail. This style is all designed by the 4 year old who has wore this style for about 2 weeks straight. I finally decided I had better share this with everyone. Some of you moms out there might just understand what its like to have a spunky daughter like mine.
I first made a small center poof. I used the bobbie pin that you can see below to give her thin hair an actual poof look. Then we split the poof hair and made 2 pigtails.
She always picked which side was the braid and which one was the ponytail.
I finished off the ponytail by putting ringlets.
Monday, October 4, 2010
Toddler 2 Ponytails
Because of our age and the length of her hair we haven't been too creative lately with her.
So here is one of the few changes in her hairstyle lately.
We made a zig zag part and then put her hair into 2 ponytails. This turned out to be adorable. It is few and far between that I can convince her to have more than 1 elastic. I hope this phase passes soon, but until then I will keep trying to convince her of new styles.
Wednesday, May 19, 2010
PigTails
To give a little history on the pigtails. I actually dislike the look of pigtails. My mom will always put my daughters hair in pigtails when she has her because I won't. My daughter loves them so this is my version of the pigtails.
I started by pulling her bangs to the side ( her bangs are still growing out) I gave them a side swoop
Then make your center part.
Here is were I added a little flair. I pulled a small amount of hair and secured it with an elastic (as shown below) I made a pull thru twist in it. and then pulled the all the remaining hair into a ponytail.
The back view below
Then I curled her pigtails into ringlets.
Wednesday, April 28, 2010
Toddler Knots to Pigtails
This hairstyle did not turn out how I had imagined it. With toddlers I guess that is normal
Her hair is so thin that the knots didn't look as good as I had wanted.
I started by pulling the front part of her hair and tied a knot. Then I made a 2nd knot just behind the first. Because of how thin her hair is I had to secure the ends of both knots with an elastic. That is why there is an elastic in the middle of the 2 pigtials.
Once the knots are secured I pulled the remaining hair into side pigtails.
Friday, March 19, 2010
Toddler Twist Pigtails.
First I made center part to seperate for her pigtails. Then I made a small ponytail and flipped it through itself. Then make a 2nd small ponytail.
Then take the hair from the bottom of her head and make a small ponytail going up then make a 2nd small ponytail like puffy braids.
Then pull all the hair together for the finally pigtail. Do the same to the other side.
Tuesday, January 26, 2010
Puffy Braids to Pigtails
Start by making a center part all the way down her head. I put the left side in a holder to keep out of the way while I work on the right side.
Make a small part at the bottom and secure with an elastic (I am making 2 puffy braids up her head)
Make a 2nd puffy braid
Tuesday, December 1, 2009
Front French Braid to Pigtails
Make a french braid across the front top of her head.
Make pigtails with the braid pulled into one side.
Thursday, August 20, 2009
Fancy Updo
This is not the best picture of the front of her hair I will get a better one.

This works best if the hair is wet. Take a small section of hair at the base of her head.

Take another small section of hair on top of the one you just did. Make 3 equal parts and do the same step make a twist in each of these.

This works best if the hair is wet. Take a small section of hair at the base of her head.
Then make a part and pull up each section of hair and pull it through to give the twist look.
Take another small section of hair on top of the one you just did. Make 3 equal parts and do the same step make a twist in each of these.
Subscribe to:
Posts (Atom)