Monday, January 31, 2011

Toddler Sides Up

Simple easy toddler style.
First make a square part on the left side of her head and secure with an elastic. 
 Next take a small amount of hair across the front top of her head.  I secured it with an elastic on the right side of the part as shown below.
 Then I pulled both ponytails and the rest of her sides up into a final ponytail.
 Last step is I used a flat iron and made ringlets in her hair.


Friday, January 28, 2011

Crimped Hair

My oldest daughter has been on a I want crimped hair phase. 
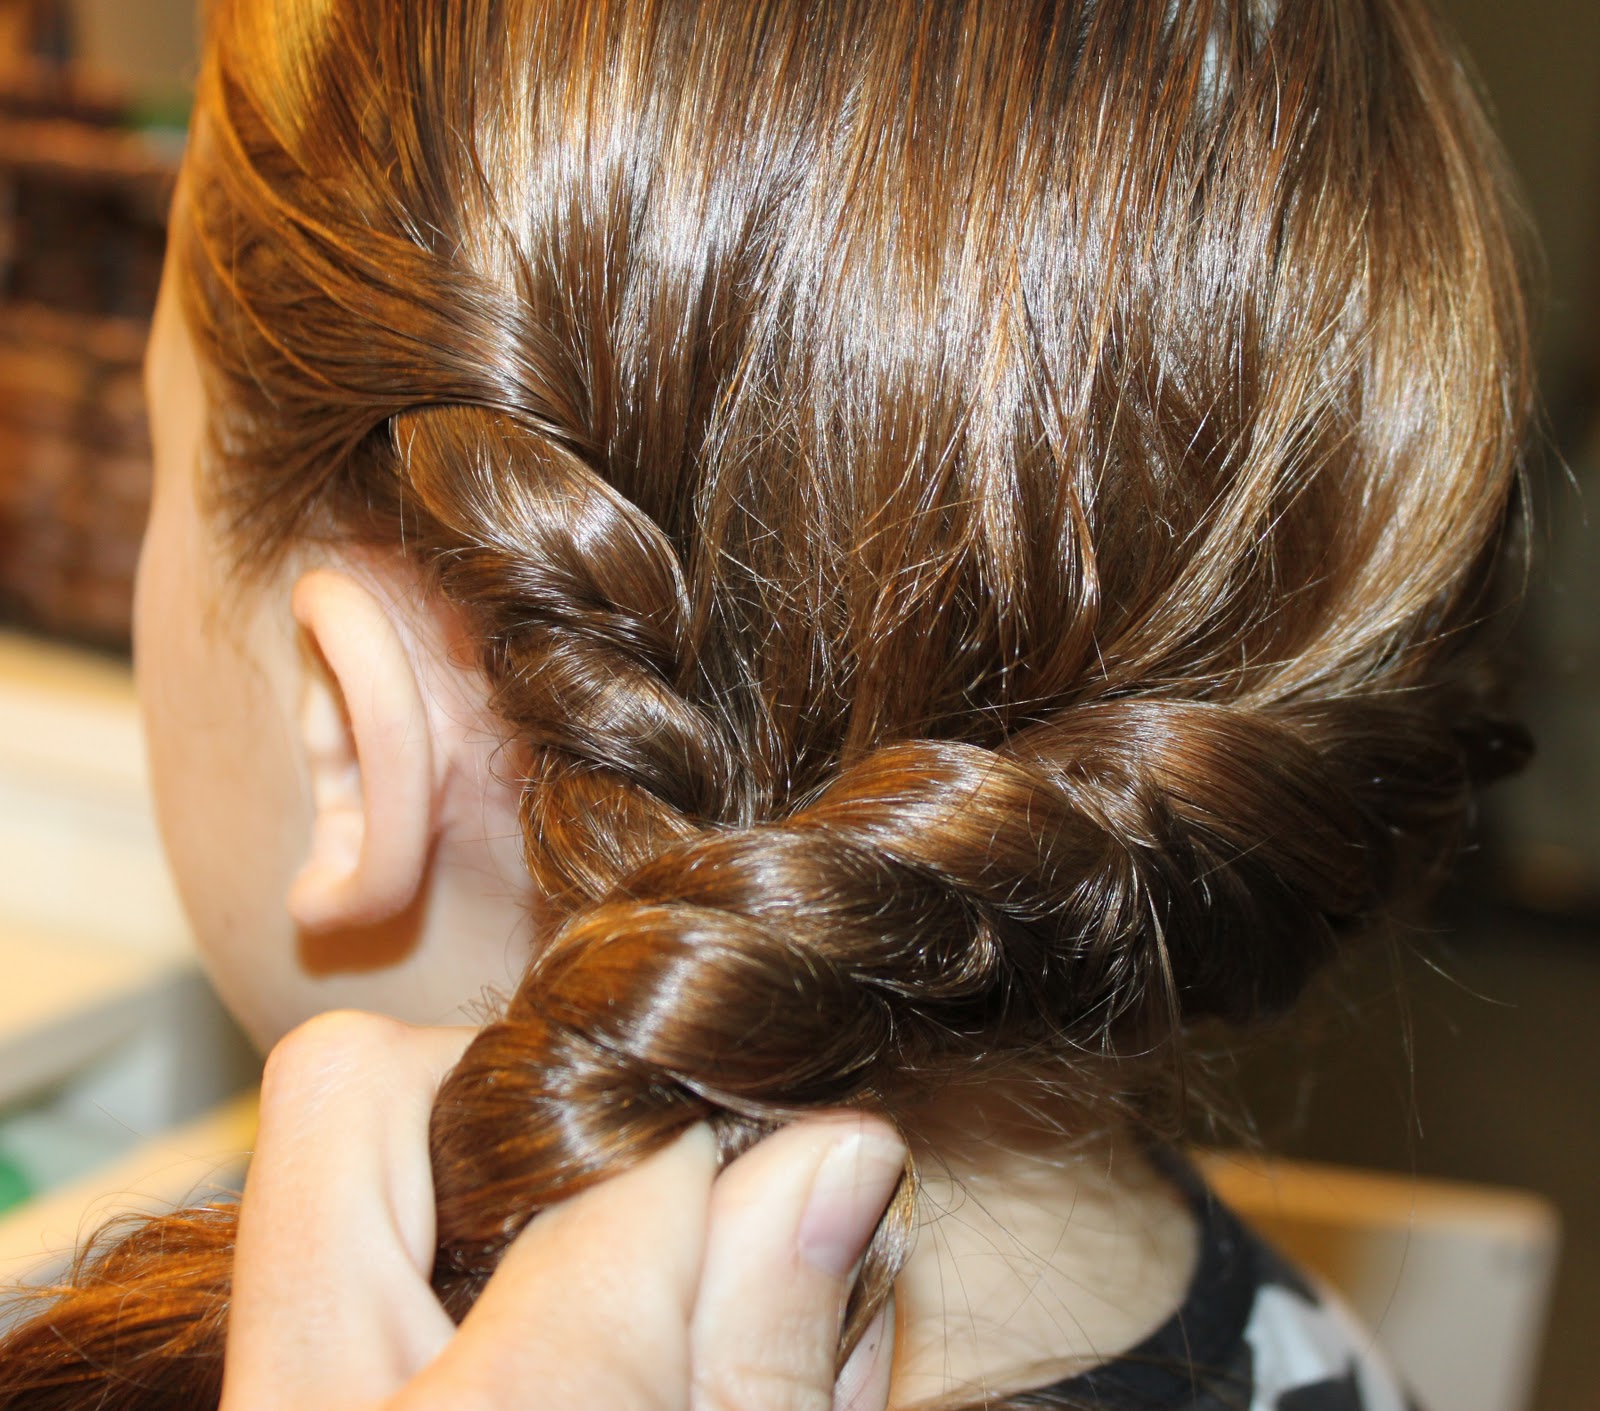
The first time she wanted it crimped I took her hair right out of the bath so it was wet and made 4 french braids.  I figured this would be the easiest way to get crimps without all the work. **NOTE** when she wakes up in the morning make sure the braids are dry.  Hers were not so I took the blow dryer to them for a few minutes.
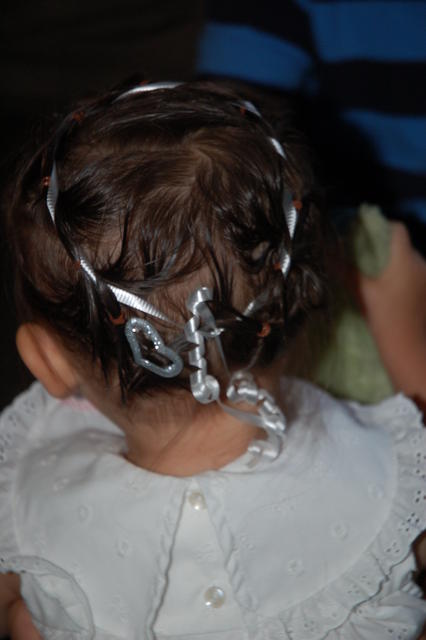
The picture below is the next morning hair.  They turned out really cute.
 Only a day later she wanted crimps again.  I decided since the braids worked so well the first time we did them again.  This time I did 5 braids because her center braid the day before was much bigger than the rest.  She decided to be helpful and pull the braids out before she talked to me.  Needless to say they were not dry.  The whole center and back of her hair was straight. 
So mom to the rescue we had a crimping iron and the work began.  
Luckily we did not have to crimp the entire thing we just touched up the straight areas.  
Below are the results.   

So for my personal opinion if anyone would like it.  The french braids were much easier and much faster.  However the crimping iron gave us a more even crimp. 

Thursday, January 27, 2011

Toddler Simple Pony

This is truly a simple ponytail.  her hair is finally long enough for a ponytail.  We used the flat iron to give the ponytail really cute curls.  I posted a couple of pictures to show everyone the personality of my little Monkey.
The key to keeping the ponytail looking smooth is doing it while its wet or using a spray bottle to wet the sides.

Wednesday, January 26, 2011

Toddler Poof and Rolls

Start by making a small poof in the front of her head.

 I then started on her right side and rolled the side hair back to the center of her head as shown below.
Roll on the left side the same way until it meets the other roll.

 Secure the 2 rolls together in the center of her head along with the hair from her poof. Shown below.
 Then we made ringlets with the flat iron to give her hair some body.
 Below is the top view of her hair.


Tuesday, January 25, 2011

Hippie Headband

Since my oldest is in a hairdo lull we have to try and be creative with the hair being down. 
So we decided to do the every trending hippie headband.
All we did was straighten her hair and those of you who have followed me knows how bad I hate the butt part. (or the center part politically correct term).
So with that said I did a side part and swooped her bangs to the side.
Put the head band around the top of her head.  We also accessorized our Hippie Head band look.
 The left side view
 The right side view.


Monday, January 24, 2011

Hello Kitty Flat Iron


Since we have been doing a lot of ringlets with our flat iron and loving them.  I thought we should let everyone know about this wonderful flat iron.
We just love our Hello Kitty Flat Iron by http://www.sparklebee.com/  This site has the funnest Hello Kitty products.  If your girls love Hello Kitty as much as mine you must check this site out.  They are also on facebook at http://www.facebook.com/pages/Sparklebee-from-Marino-Andriani/141538819235849
This flat iron is perfect for all the hair tasks the are presented to you. Even if it is as simple as just straighten your daughters hair.
  Or putting ringlets in your hair this straightening iron does it all. 
 One of my favorite parts of this straightening iron is that my daughters just love it because of course it has Hello Kitty.  We give this flat iron 2 thumbs up in all categories. My girls always want me to use this flat iron on their hair.
Once again you can purchase your own flat iron at http://www.sparklebee.com/ 

Friday, January 21, 2011

Short Bob as Worn by Rihanna


We recently received a request to show more hairdos for short hair. Here is a short bob style as worn by singer Rihanna.

Wednesday, January 19, 2011

Sassy Ringlets


This is a relaxed style showcasing sassy ringlets.

Christmas Hair by Katherine

First of all I just want to thank Katherine for sending all the cute hairstyles.  Here is another cute one she did for Christmas.
 An easy and favorite hairdo on my daughter is the small ponytail, then put it and some more hair into another ponytail. I do two rows that go from the front to the back of her head. For Christmas Eve, I put a ribbon between the two rows like a shoelace.
If my daughter would let me use more than one elastic I will be trying this style on her as well.

Tuesday, January 18, 2011

Rolls to Side Pony

 This is fun easy and really quick.
I made a side part and then made a roll adding hair each time starting on the right side and rolled it down to the left side. (this will be your long roll)
Now on the left side start a roll just above her ear and roll to the bottom of her neck to meet the other roll. 
 Below is a picture of the 2 rolls before putting them together.
 Secure with an elastic.
 I then wrapped a small piece of her hair around the elastic and secured it.
 She wanted a flower so we clipped it above the elastic. 

Wednesday, January 12, 2011

Toddler Rolls

Although my daughters hair is very thin we got the rolls to stay in and they actually looked very cute.
I started on the right side and rolled her hair by pulling up new hair as we went back.
Then I made the same roll along the left side of her head.  
Because the end ponytail was very small we made a cute little messy bun at the end.
 She wanted a big flower so we put it over the messy bun. She ended up with a cute princess style. I didn't get a picture of the flower or the front.

Tuesday, January 11, 2011

Friend's Post on Toddler Ribbon HairBand

I apologize its taken so long to post these cute pictures but here they are. 
Katherine a blogger friend sent me these adorable pictures of her daughter.
She writes, "Hi, I've been subscribed to your RSS feed since my little girl's hair was long enough to put up. I've used your toddler posts as inspiration. Like the "Toddler Ribbon Hairband". What also inspired me was the hairbands where you make a small ponytail, then put it and some more hair into another ponytail. I've done that with my daughter's hair. I start at the back of her head, and go all around and back to the back, making a crown. As I go along, I loop ribbon around each ponytail. At the end, I clip the last ponytail with a hair clip. Attached are pictures of the results. The one with the white ribbon was when she was 21 months, and the other is at 22 months. Thanks for your ideas and posting them!!

Natural Crown Twists


Photos: Andre Walker
Gown: Cassandra Bromfield
Headpiece: Beauloni Style
Hair: Khamit Kinks
Make-up: Nicole Lundy

Courtesy of Cassandra Bromfield

Monday, January 10, 2011

Toddler Ringlets from Straightening Iron

This is my toddler's wild hair and I must say this is pretty mild compared to what it usually looks like when she wakes up.
So we went from the above picture to the one below in a matter of minutes with help from the straightening iron. 
 To give you an idea of her hair it is very thin and straggly.  The picture below is what we have to work with.
 

I start at the bottom of her hair and I work in layers, so I pull the rest of the hair in a clip out of the way.  Her hair has so many colic's in it that we change the curls directions depending on the way her hair naturally lays. 

I don't use the straightening iron the typical way of curling with it.  I slowly wrap the hair starting at the base of her head around and downward to the ends of her hair.  (if this is not clear please let me know)
I finish curling her whole head.

On this style I just pulled a small amount of bangs back out of her face. (she only lets me use 1 elastic)